I was trying to install a Python package when I encountered the following error:
C:\Users\MATT-THINKPAD\OneDrive - nyu.edu\Documents\fido-1.6.1\fido-1.6.1>pip install setuptools
Defaulting to user installation because normal site-packages is not writeable
Collecting setuptools
  Using cached setuptools-75.5.0-py3-none-any.whl.metadata (6.8 kB)
Using cached setuptools-75.5.0-py3-none-any.whl (1.2 MB)
Installing collected packages: setuptools
ERROR: Could not install packages due to an OSError: [Errno 2] No such file or directory: 'C:\\Users\\MATT-THINKPAD\\AppData\\Local\\Packages\\PythonSoftwareFoundation.Python.3.12_qbz5n2kfra8p0\\LocalCache\\local-packages\\Python312\\site-packages\\pkg_resources\\tests\\data\\my-test-package_unpacked-egg\\my_test_package-1.0-py3.7.egg\\EGG-INFO\\dependency_links.txt'
It turns out that Windows 11 does not accept file paths over 260 characters by default and users may remove the character path limit by editing the registry.
Open ‘Registry Editor’
Navigate to ‘HKEY_LOCAL_MACHINE\SYSTEM\CurrentControlSet\Control\FileSystem’
Edit the value date of ‘LongPathsEnabled’ from ‘0’ to ‘1’
Most students of the program don’t typically do internships in their final semester and not gonna lie, it was brutal balancing the internship on top of my graduate thesis. But I would be kicking myself if I finished the program without doing a CUNY TV internship. Why you may ask? The paper made me rethink the possibilities of the architecture of audiovisual archival workflows, plus it also lit a path for a career that I have been intrigued about. Definitely a recommended read for anyone interested in audiovisual archiving & preservation.
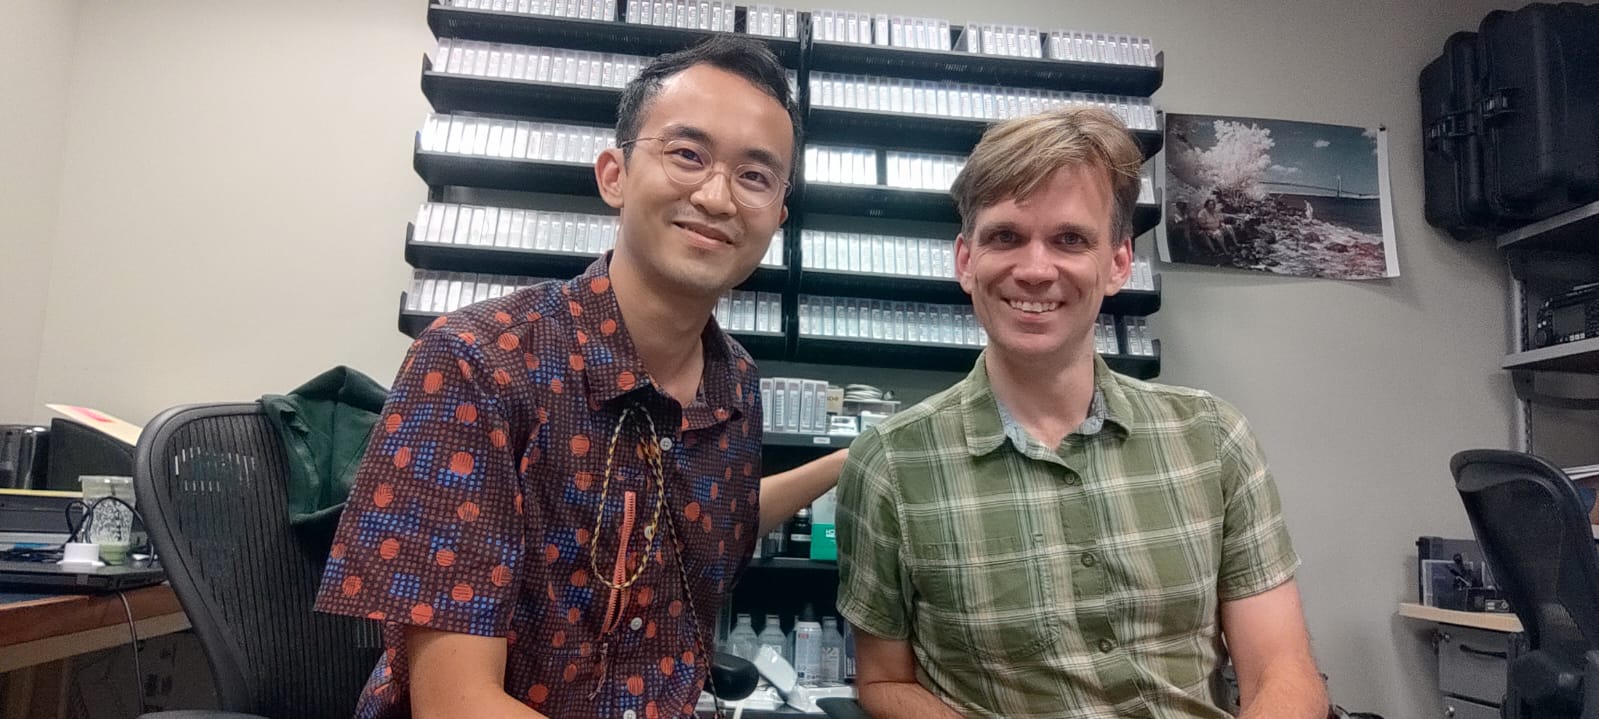
But long story short, I did it and learnt a ton. While audio preservation is not necessarily my expertise, I worked on creating & improving audio processing workflows for the Himan Brown Collection. Most of it was building on Sarah Wardrop’s (previous intern) work on creating an automated way to ‘restore’ and improve the quality of digitized transcription discs. This involved creating scripts to de-noise & de-click these audio recordings. Bash scripts were written initially, but Python proved to be more suited for this process with the libraries it offers. This is a post for another day.
The greatest takeaway was witnessing and contributing to CUNY TV’s constellation of scripts. From creating access copies to extracting technical metadata, these scripts carry out the archive’s processes from ingestion to archive. Automation is beautiful since it eliminates / reduces manual processes that numbs the mind, but achieving a state of automation comes with a high technical barrier. It can help institutions with challenges like backlog and lean staffing, but creating and maintaining these scripts requires dedicated technical staff that comes with significant cost that only well resourced institutions can afford.
Big thanks to Dave Rice, Catriona Schlosser & Aida Garrido for the incredible internship!
I finally found some time to complete the site’s dark mode feature. As someone who uses dark mode a lot, I couldn’t put the feature off any longer. In theory, adding a dark mode feature is not complicated. However, it can be challenging in practice when integrating the feature into someone else’s code.
The first thing is to set up a button, which is the simplest step. It enables the visitor to toggle the site’s dark mode on & off.
<buttonid="dark-mode-toggle"class="dark-mode-toggle"aria-label="toggle dark mode"><svgwidth="100%"xmlns="http://www.w3.org/2000/svg"viewBox="0 0 496 496"><pathfill="currentColor"d="M8,256C8,393,119,504,256,504S504,393,504,256,393,8,256,8,8,119,8,256ZM256,440V72a184,184,0,0,1,0,368Z"transform="translate(-8 -8)"/></svg></button>
The next thing is to set up a script to listen for the user’s action and to save their preference locally with ‘localStorage’.
document.addEventListener("DOMContentLoaded",()=>{letdarkMode=localStorage.getItem("darkMode");constdarkModeToggle=document.querySelector("#dark-mode-toggle");constenableDarkMode=()=>{// add class dark mode to the bodydocument.body.classList.add("darkmode");// update dark mode in the local storagelocalStorage.setItem("darkMode","enabled");};constdisableDarkMode=()=>{// remove class dark mode from the bodydocument.body.classList.remove("darkmode");// update dark mode in the local storagelocalStorage.setItem("darkMode","disabled");};if(darkMode==="enabled"){enableDarkMode();}darkModeToggle.addEventListener("click",()=>{darkMode=localStorage.getItem("darkMode");if(darkMode!=="enabled"){enableDarkMode();console.log("Dark mode enabled");}else{disableDarkMode();console.log("Dark mode disabled");}});// set the initial state based on local storageif(darkMode==="enabled"){enableDarkMode();}});
This logic will ultimately toggle the CSS dark mode in the site’s <body> element, which can be configured on a separate stylesheet. There are some suggested color themes for dark mode online that I found useful as a starting point in deciding the dark mode theme color palette.
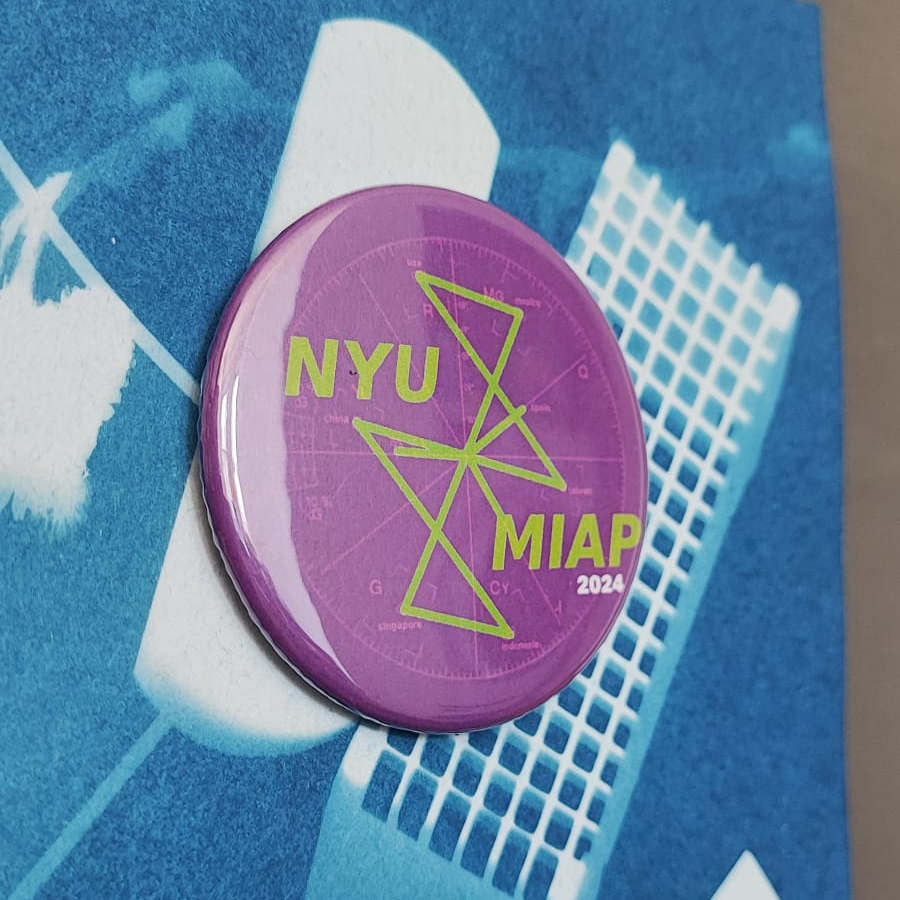
I was thinking of a design for a commemorative magnet for my MIAP cohort and decided on a vectorscope’s signal output. For the uninitiated, a vectorscope is an instrument that measures and visualizes chrominance (color) information encoded in a video signal.
This particular signal pattern depicts the SMPTE color bar test pattern that is widely used for video calibration, per the NTSC standard. In this instance, the lines in the vectorscope measure the hue and saturation of the colors red, magenta, blue, cyan, green, and yellow in the bars.
I made slight modifications to the vectorscope’s graticules to commemorate (probably) the program’s most international cohort 🥳 watch out world!
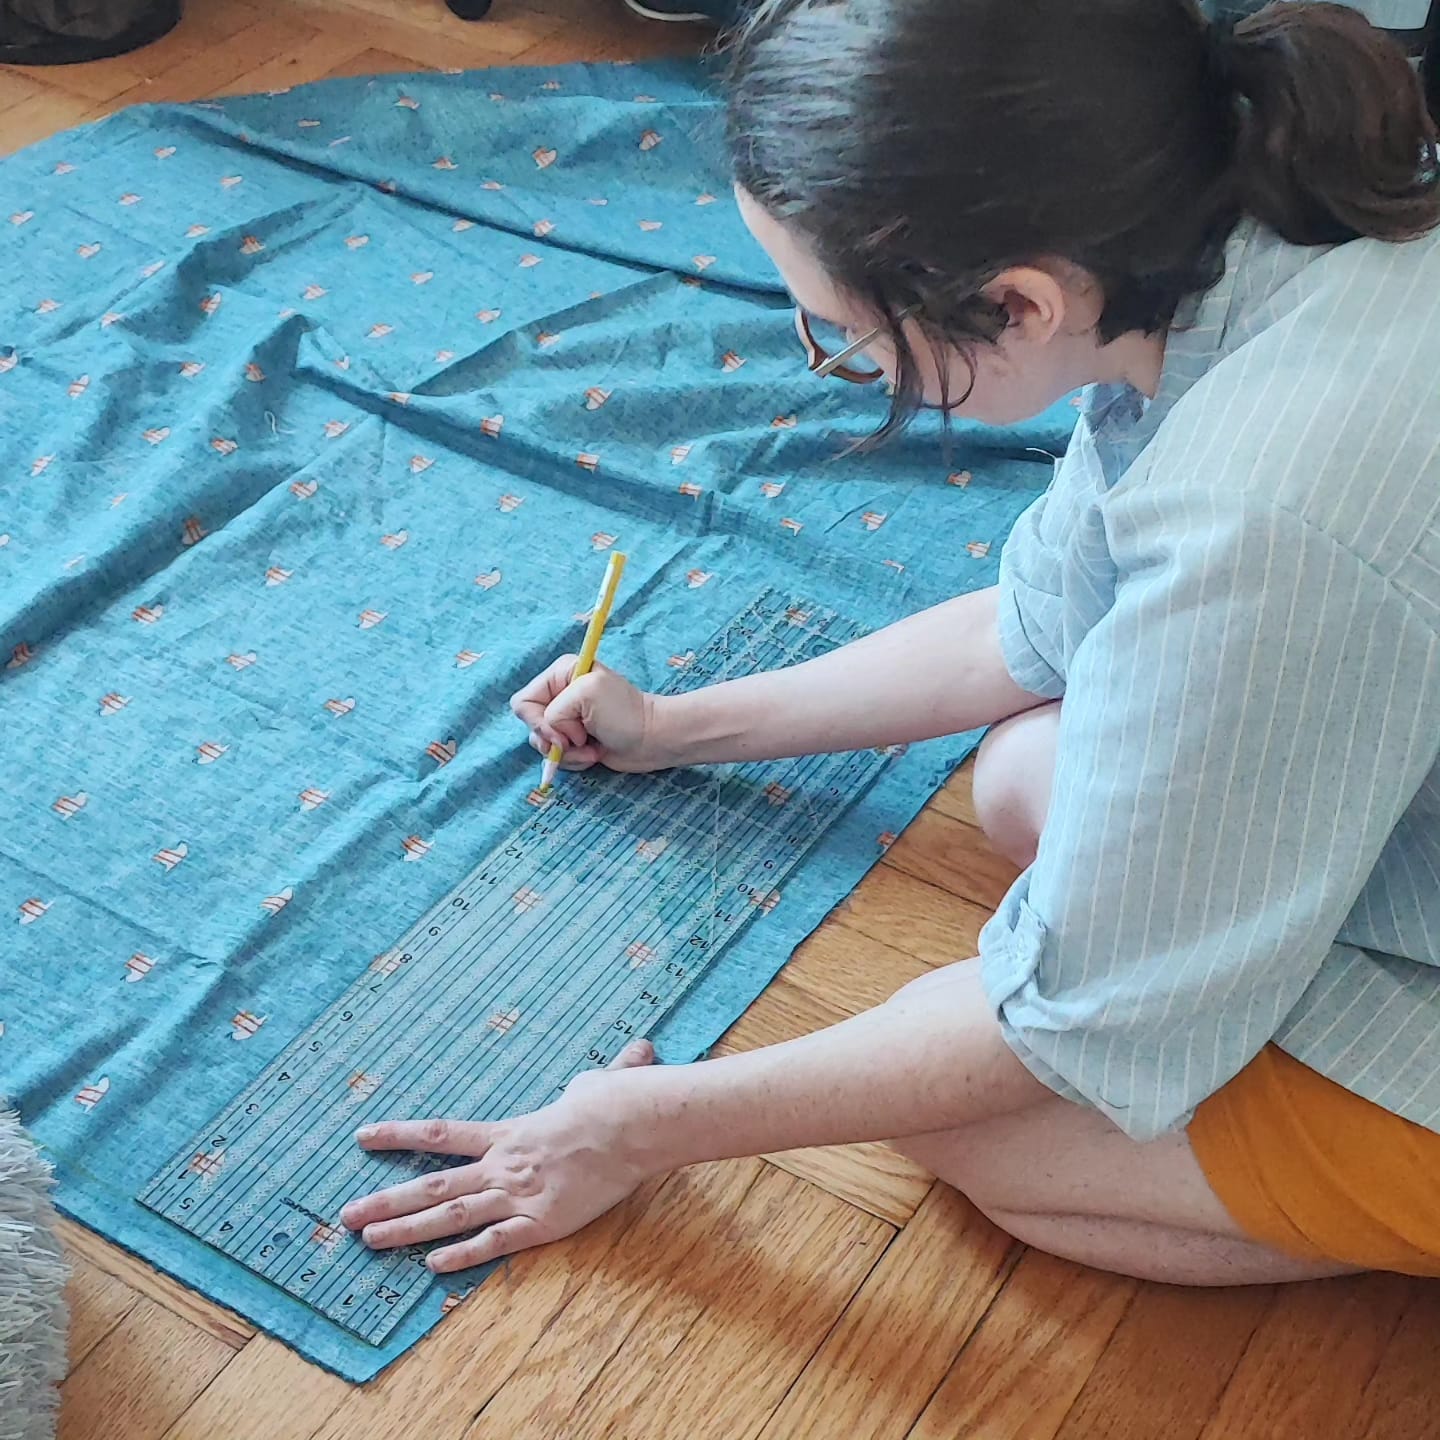
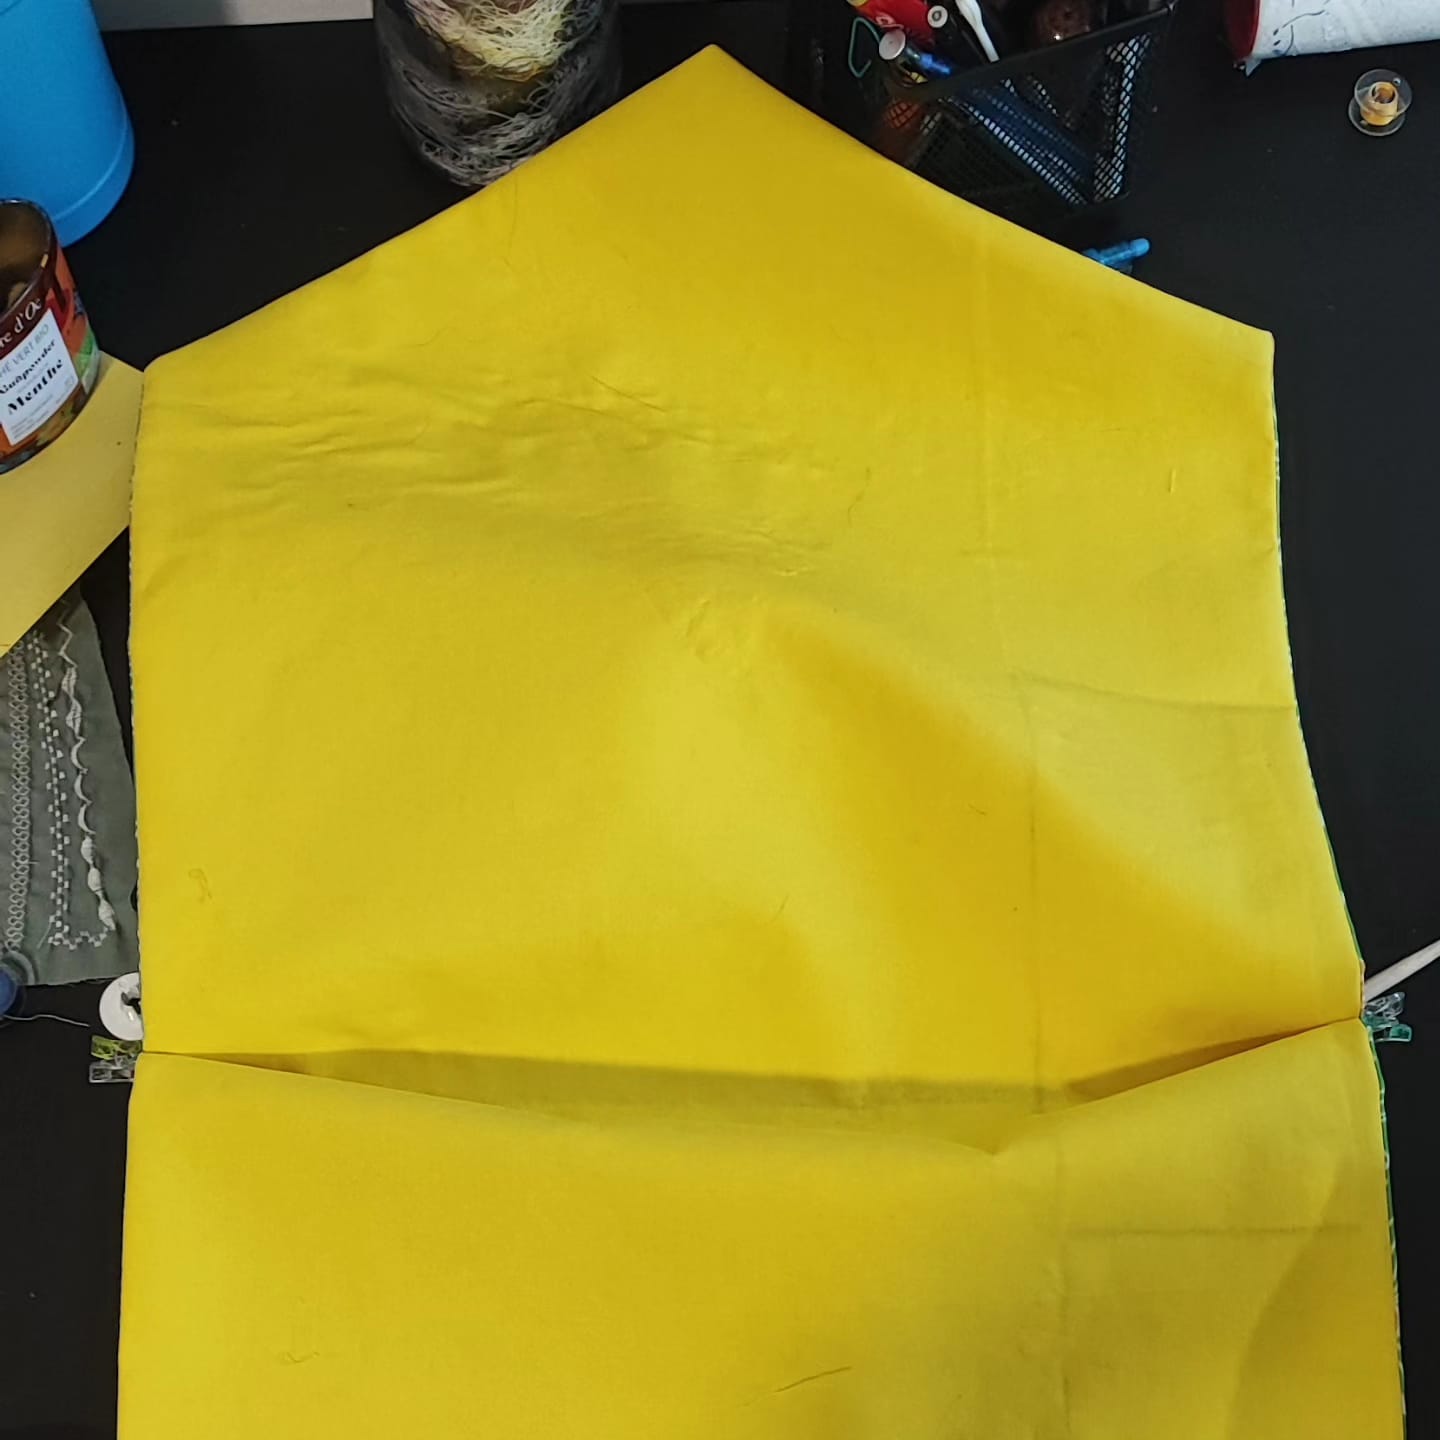
My long overdue project to make a new laptop sleeve is finally complete. It was time to replace my old one that saw me through film school, undergrad, and grad school. The edges had frayed, and the corners of my computer had begun to peek out. I spent an entire Friday with Fin and Mist cutting, ironing, and sewing over lots of tea and watermelon. I learned a lot, and I am quite satisfied with the overall result.