Use scrcpy to Mirror Android Devices On Your Desktop

scrcpy demo

scrcpy is a great open source application that “provides display and control of Android devices connected via USB or over TCP/IP.” In other words, one may screen-mirror and control their Android device from their desktop with scrcpy!

Platforms: Windows, Mac and Linux

Key features:

  • Screen mirroring and recording
  • Copy-paste in both directions
  • Android device as a webcam (Linux only)
  • Physical keyboard simulation
  • Physical mouse simulation

Preparing your Android device

  1. Go to ‘Developer options’
  2. Enable USB debugging
  3. Enable USB debugging (Security settings) -Allow granting permissions and simulating input via USB debugging
  4. Enable Wireless debugging
  5. Connect your Android device to machine via USB
  6. Ensure your device is on the same network as your machine

Installing scrcpy for Linux:

1. On Debian and Ubuntu:

sudo apt install scrcpy

2. Run:

adb tcpip 5555

3. Now run:

adb connect <your android's ip address>:5555

4. Disconnect the USB connection and run scrcpy

Google Analytics for GitHub Pages

This post covers the set up of Google Analytics for GitHub Pages.

1. Go to Google Analytics and create a Google Analytics account for the site you would like to track.

2. Take note of the tracking ID and copy the code snippet provided that looks like the following:

<script
  async
  src="https://www.googletagmanager.com/gtag/js?id=UA-XXXXXXXXX-X"
></script>
<script>
  window.dataLayer = window.dataLayer || [];
  function gtag() {
    dataLayer.push(arguments);
  }
  gtag("js", new Date());

  gtag("config", "UA-XXXXXXXXX-X");
</script>

3. Create a new .HTML file in the _includes folder that contains the code snippet and name it google_analytics.html.

4. Add the following code to your default layout: _layouts/default.html.


{% include google_analytics.html %}

fin

2023 Website Refresh & Update

Hello

This site has undergone a noticeable refresh to include a work page as a reflecion of my renewed commitment towards writing more about my work and learnings gleaned from my graduate studies, which I’ve embarked on since September 2022. 2022 was a productive year of change that took me away from the maintenance of this site, hence the lack of updates. But I intend to correct his by documenting the projects I’ve embarked on and the challenges I’ve faced along the way.

I love the new theme’s simple design that focuses on the site’s content. Migration of the posts from the previous theme and its visual assets was a breeze - altogether a fairly straightforward process which took less than 10 minutes.

The set up of Google Analytics was however a pain, and I wrote a short post on its set up here.

Ubiquiti Home Network Part: III

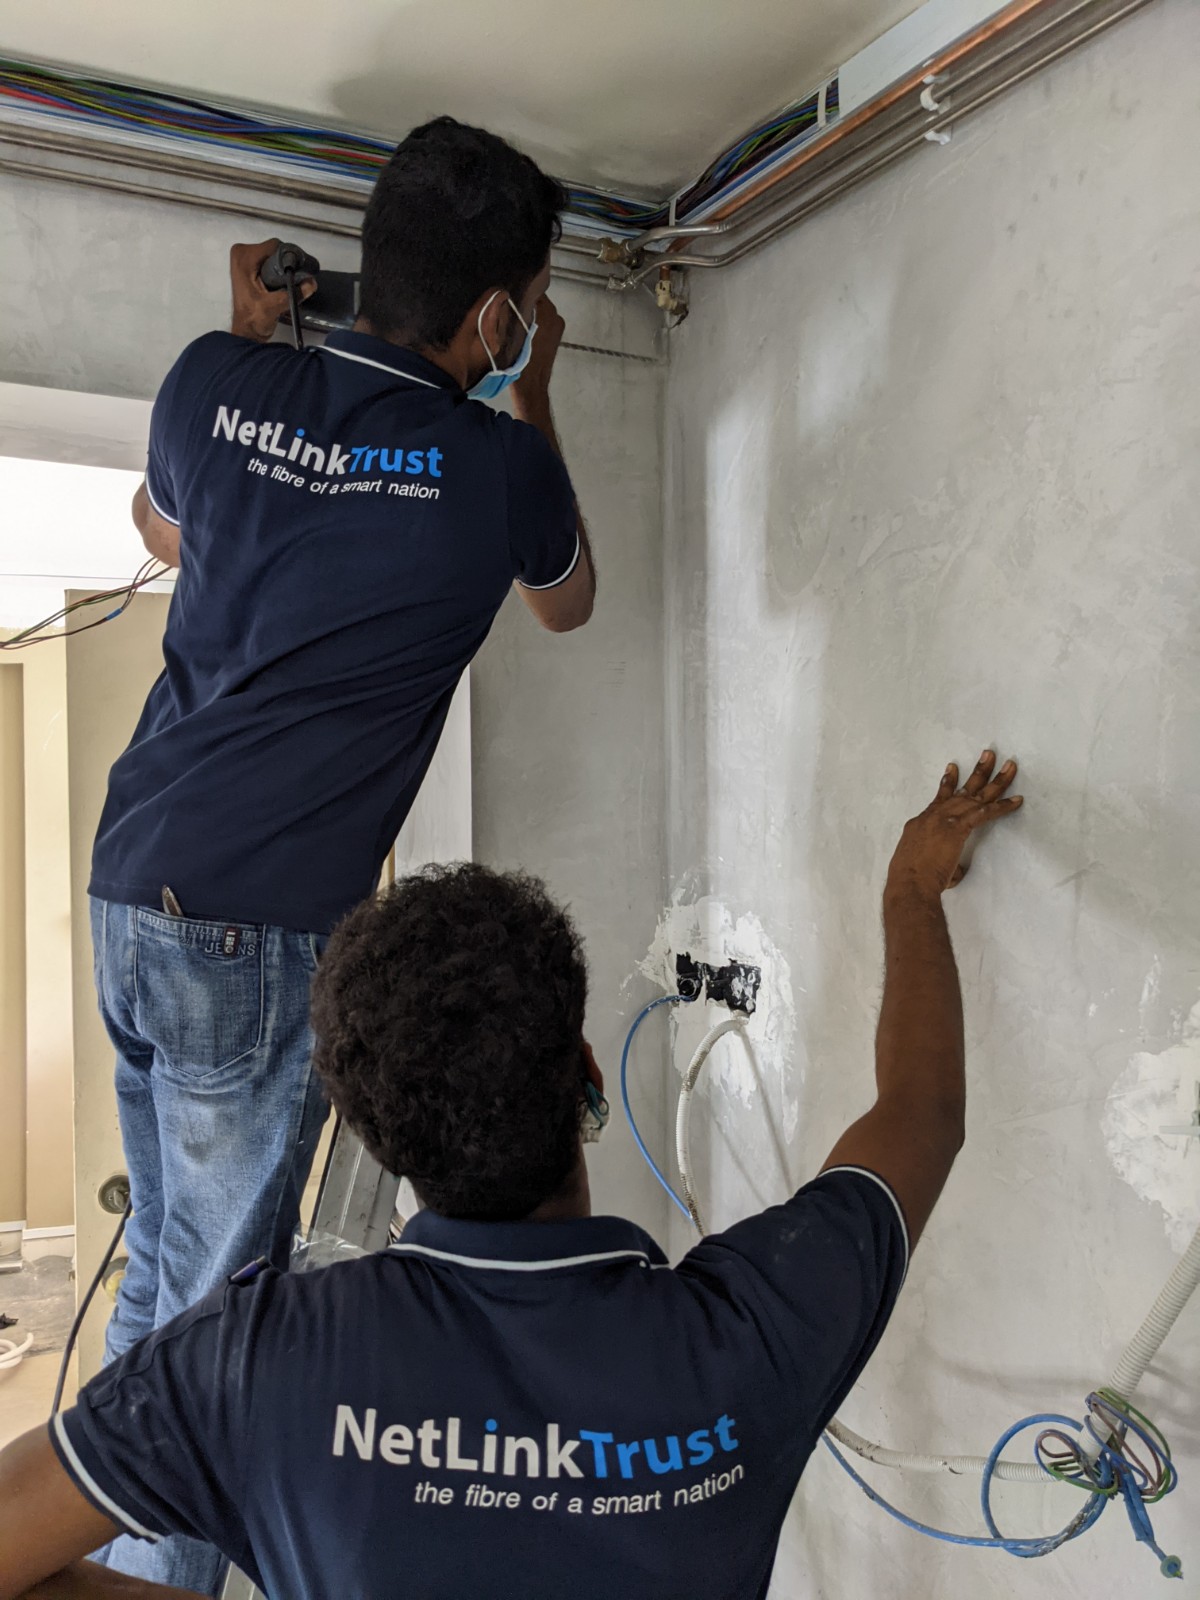
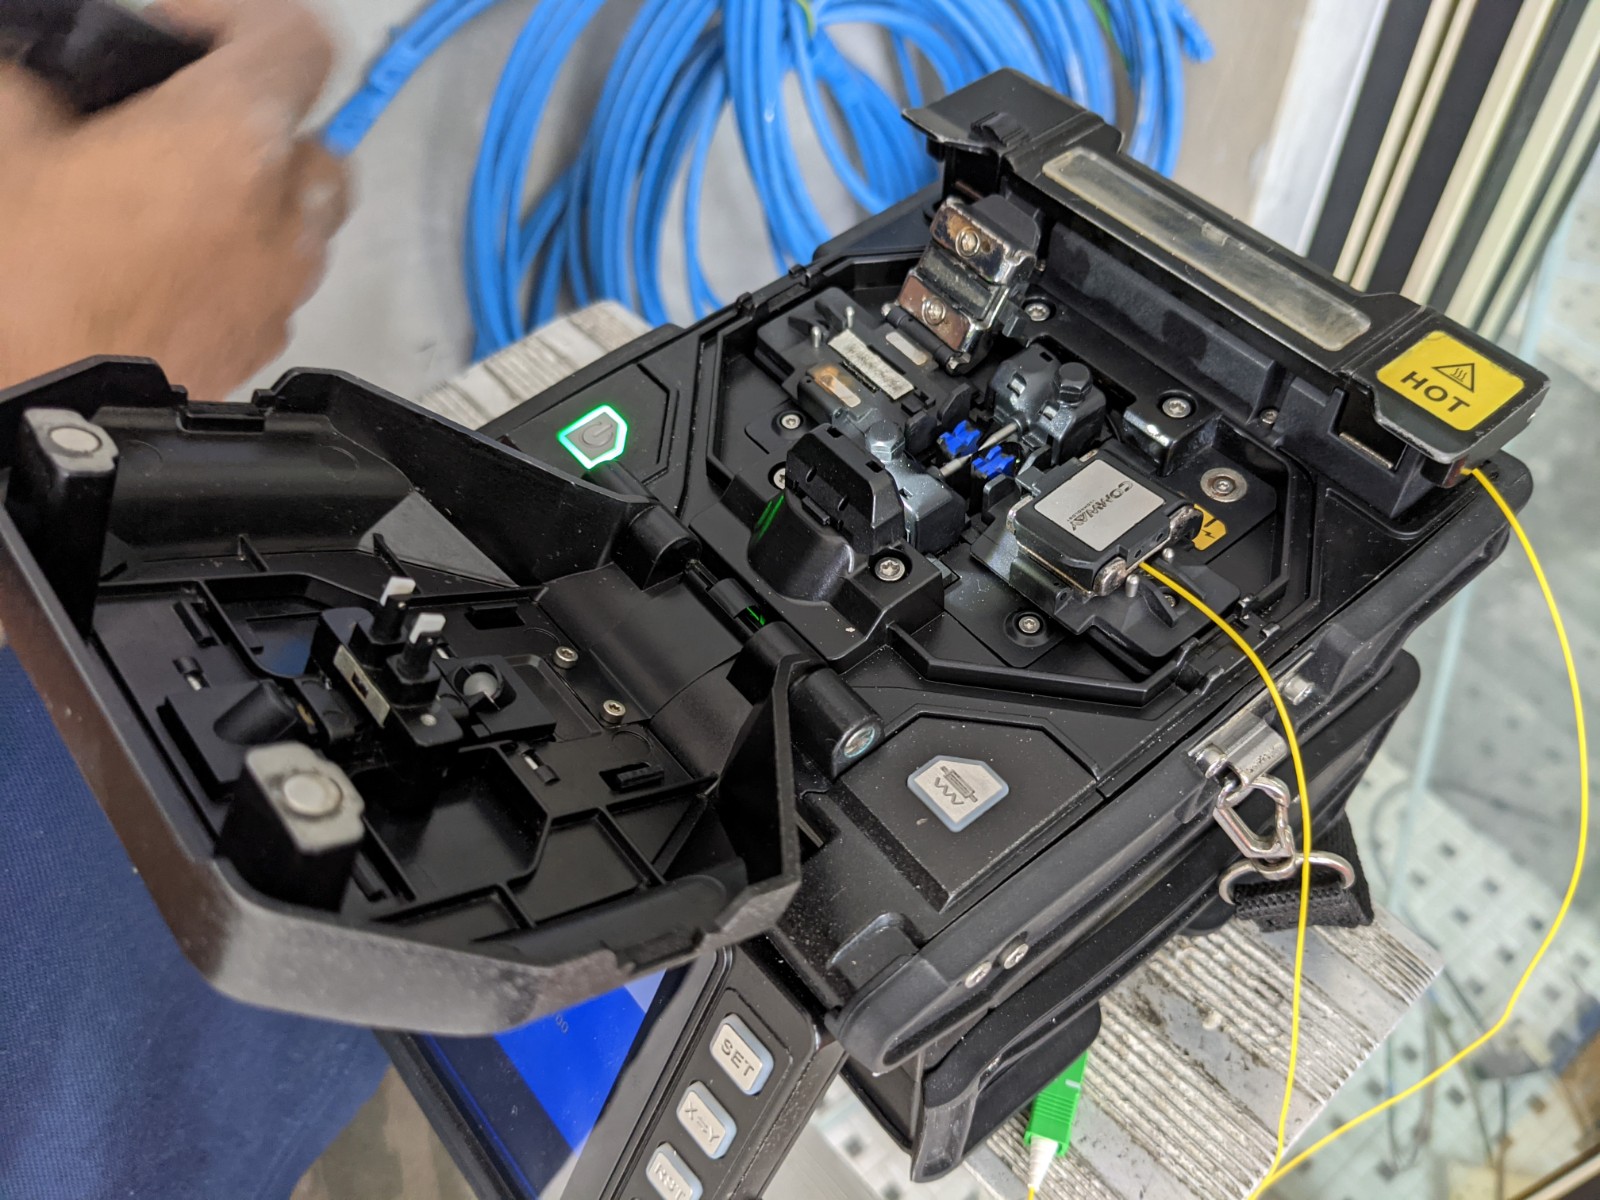
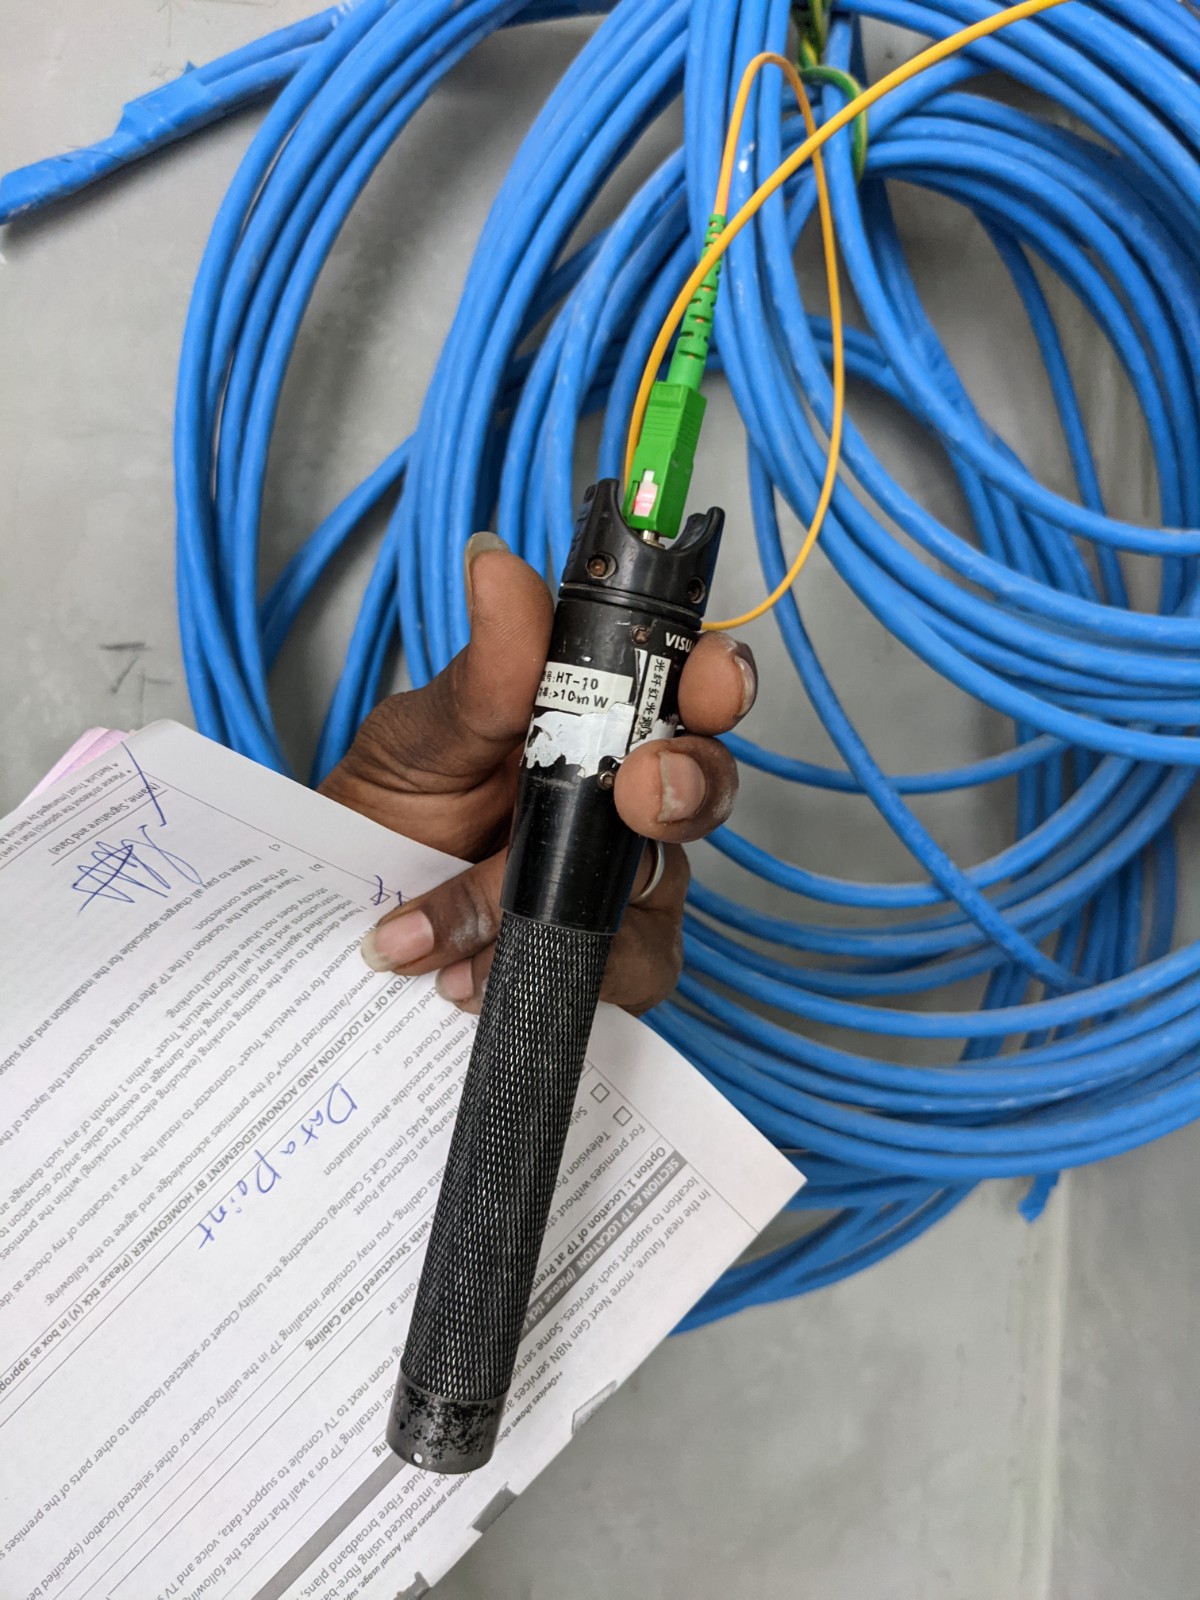
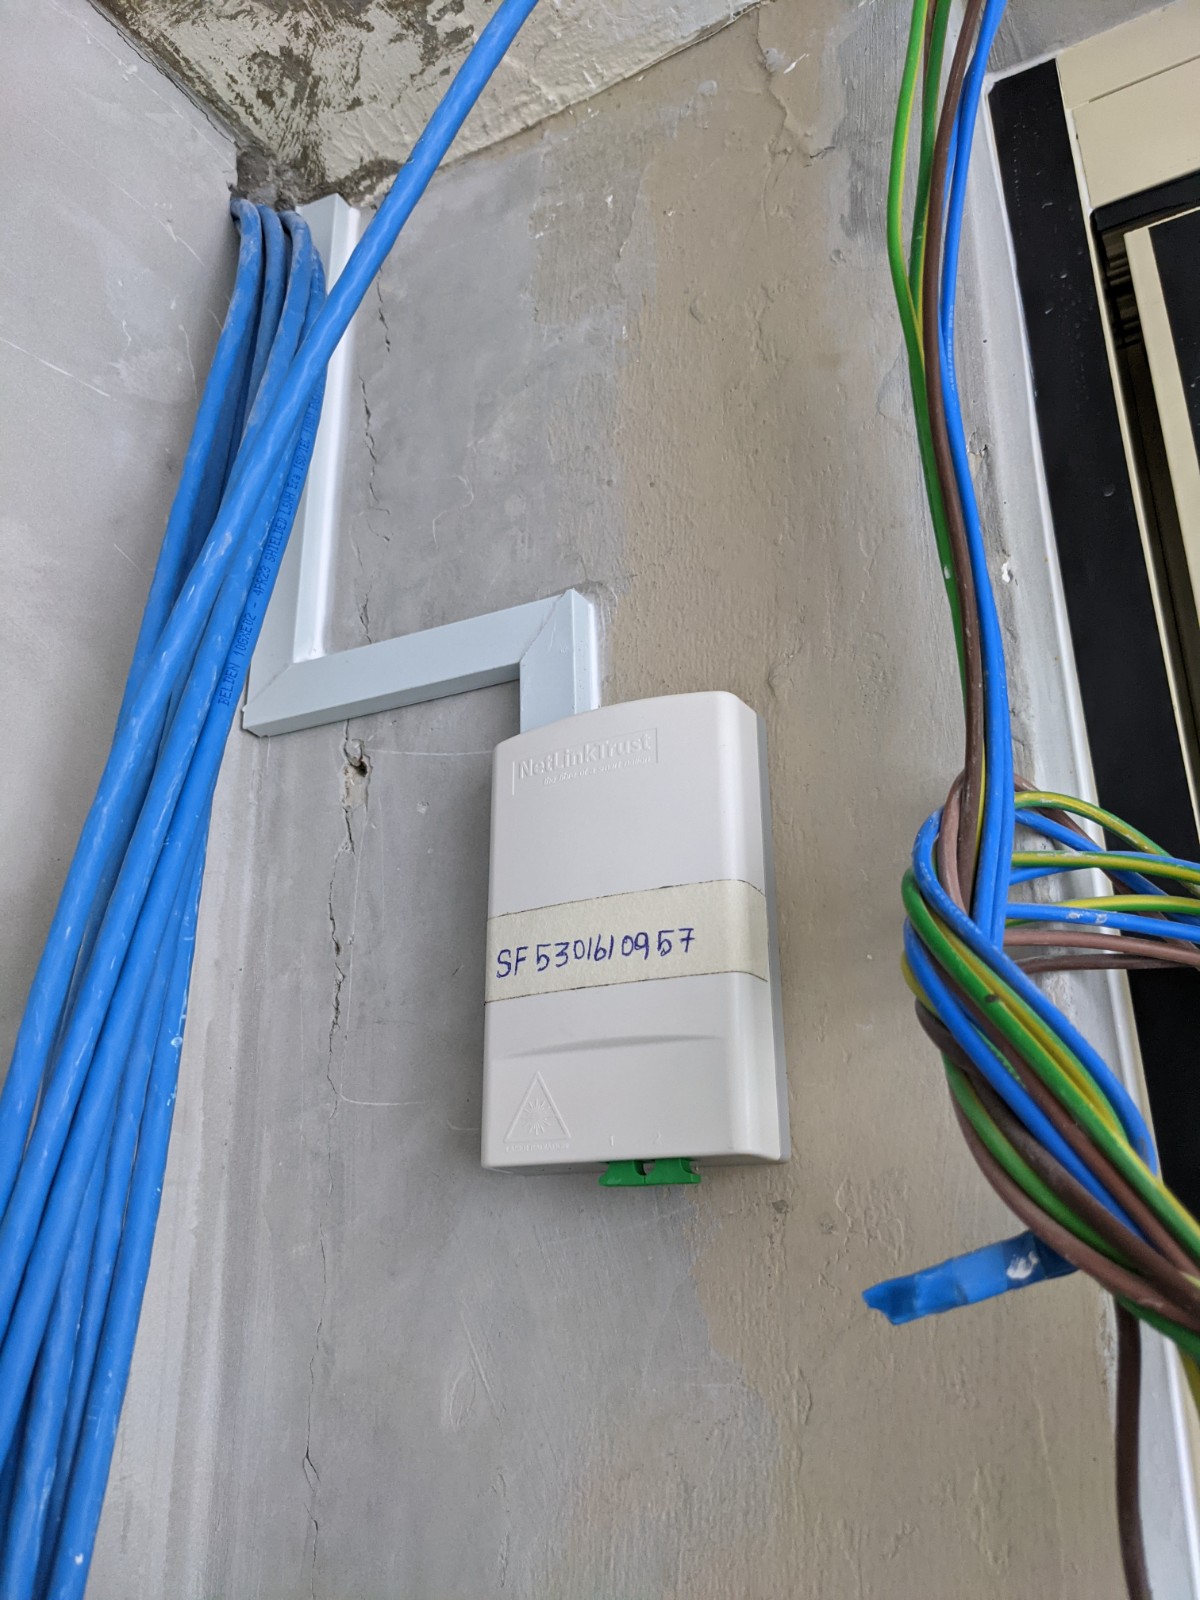
Today marks another major milestone for the Ubiquiti home network with the Fibre Termination Point (TP) finally installed! The OpenNet technicians decided to come two days before our scheduled appointment, but I was more than happy to accommodate to their request. I decided to relocate the TP from the living room to the service balcony to have it close to the network rack. Most households typically have the TP close to the TV consoles as it is common to use the router-modem provided by the ISPs, whom typically are the internet TV providers as well. The relocation involved drilling a new hole from the electrical riser into the kitchen to have a short run of cable straight to the desired location. I was initially quite nervous about the drilling as I didn’t want to puncture any pipes, but thankfully it went fine. All of the work was completed within 40 minutes but I was surprised that the task required a team of five men!

opennet setup

opennet setup

opennet setup

opennet setup

Ubiquiti Home Network Part: II

This post is all about setting up my Ubiquiti home network and will serve as a personal resource/journal for the various devices.

EdgeRouter X (ER-X) router set up

  1. Connect computer to the Eth 0 port on the ER-X

  2. Open the network settings on your PC and set the IP address to 192.168.1.2 since the IP address of the ER-X is 192.168.1.1 (also the default gateway)

    Subnet mask: 255.255.255.0

  3. Log into EdgeMax Web GUI. usr: ‘ubnt’ pwd: ‘ubnt’

  4. Commence basic set-up

  5. Settings

    Port: eth 0 Internet connection type: DHCP Firewall: enable the default Firewall One Lan: check

    Leave default address and enable DHCP server

    Create a new user with a new password

  6. Apply changes and reboot the router

  7. Plug modem into eth 0 and move client connection to eth 1

  8. Change IP and DNS settings to automatic on the client

  9. ‘ipconfig /release’ to release the old IP address. ‘ipconfig /renew’ to get a new IP address

  10. Log back into the EdgeMax Web GUI.

  11. Bring up the CLI on the GUI. Log in with the credentials

  12. type ‘configure’

  13. set ‘system offload hwnat enable’

  14. set ‘system system offload ipsec enable’

  15. type ‘commit’ and ‘save’.

Credit to Toasty Answers for the easy to follow set-up.

Toasty Answers - EdgeRouter X First Time Setup

Updating the ER-X

  1. Download the latest firmware from Ubiquiti.

  2. Access the EdgeMax Web GUI and click on system and head to upgrade system image. Click ‘upload a file’.

  3. Upload the image and reboot and let it apply the update.

  4. Log in again and the new version should be reflected on the dashboard.

Other functions

Smart Queue

UPnP

Additional resources

  • ‘Gamer Setup’ for the ER-X

Gamer Setup - This router can save your marriage!

  • The Ubiquiti Universe

Poseidwn Tech - Initial UniFi Setup for Beginners

  • Unifi Cloud Key Gen2 Plus (UCK-G2-PLUS)

Crosstalk Solutions - Cloud Key Gen2 Plus

  • Unifi US-16-150W

Tom Morgan - Ubiquiti UniFi Switch 16 150W setup